When you make carbon black pigments, all kind of interesting things happen. The material turns black all the way through in an oxygen devoid container. The sound they make when they hit each other and the sides of a container changes into an almost porcelain “tink”. The other change is that as almost everything besides carbon burns away, the material shrinks by quite a bit.
Almond shells: before and after carbonization
Carbon black pigments are one of my favorite to make because they involve sitting by a campfire for a while and just sitting and relaxing for most of the time. They are very easy and pretty quick to make. To see more that I’ve written on carbon black pigments, check this out. For ivory black here. For peach pit black here.
I use a pipe fitting with two end caps in a fire to make carbon black pigments.
My adventures in silverpoint drawing led me to trying my hand at making colored drawing papers as described in Cennino Cennini’s 15th Century Italian art manual, Il Libro dell’ Arte. Cennini lists six colored paper recipes. He notes that these can be used on either paper or parchment. I had all the pigments I would need. Once I had procured some bone ash I was ready to go.
Bone Ash
Bone ash is often translated as calcined bone in medieval painting recipes. I use the term bone ash here since if you are looking to order some, that’s what Natural Pigments has it listed as and I think it gives a better visual picture than calcined bone. I have tried making my own bone ash using Cennini’s instructions. Cennini instructs the reader to take the wing and thigh bones of a chicken or capon and throw them into a fire until they are whiter than ash. You then remove them from the fire and grind them until fine.
The Manuscripts of Jehan Le Begue in Experimenta De Coloribus contains a very similar recipe (Merrifield pg 62-63). Alcherius De Coloribus Diversis in the Manuscripts of Jehan Le Begue (Merrifield 274-279) allows any animal bone or stag’s horn to be used, although stag’s horn in best prized. Alcherius instructs the artist to burn the horn or bone to make it white, then boil it, and grind it. The ground bone is then dried on a clay or chalk brick and then put into a crucible and burned again before a final grinding. Alcherius also mentions that this bone ash when mixed with parchment glue and with pigments optional and can be added to wooden panels, cloth, parchment, or paper.
Following Cennini’s instructions the best I have achieved is a dark grey. I have not succeeded in getting the bones white enough to make a good ash. Since I have not produced a good, white ash, I purchased my bone ash from Natural Pigments.
Bone ash and the required pigments for the flesh color recipe
The Glue
The bone ash is mixed with glue to attach to the paper. Cennini recommends a glue made from the muzzle, skin, and hooves of a kid. Alcherius mentions glue or size from clippings of white leather or parchment. Since I had no kid glue, I used commercial Rublev brand hide glue granules purchased from Natural Pigments. I was not sure how much granules to use with how much water. I estimated 1 tablespoon of granules in 2 cups of water. I allowed the granules to sit in the water in a small pot for a while before heating it. This seemed to have worked okay, but the grounds seemed a bit soft and even when the grounds were applied in only a layer or two, they allowed the silverpoint to sink into the grounds making white spots. For the second batch of grounds, I added another tablespoon of hide glue granules to the glue batch for a total of 2 tablespoons. This was a much thicker glue, but did not impact spreadability. The second batch of grounds appears to be about the right consistency with the thicker glue. Cennini suggested to apply the grounds in 3 to 5 layers, but one or two seemed to work best.
Drawing on murrey grounds. The grounds are either too thick or I did not make the glue strong enough and the stylus dug into the grounds at points making white streaks.
Measurements
The next issue I came across was the measurements. Cennini mentions four measurements in the recipes for colored papers: ounce, a “bit”, a walnut shell, and a bean. I wanted an easily measurable equivalency for measuring out the pigments so I figured a teaspoon was very close to the capacity of a walnut shell and an eighth of a teaspoon measure was close to the size of a bean. The Strasbourg Manuscript, a fifteenth century German artist manuscript, also uses a bean as a measurement. Broecke notes in her translation (note 9, page 27) that a bean could have meant a fava bean, but that there were beans of several types and sizes at that time so a bean was not a very standard measure. For an ounce, Broecke notes that in Padua and Florence where Cennini lived an ounce was approximately 28 grams. I measured my pigments on a scale and found that 7 grams was approximately 2 teaspoons. My ounce may be dramatically off as evidenced by some of the colors this measurement system resulted in, especially the reddish color. A “bit” as used in Cennini’s recipe was listed as about half an ounce so that’s about what I used.
Safety
I made a few substitutions in the pigments for safety. I live in a household with two young children and three very friendly cats, so I substituted titanium white for lead white. This may have impacted the recipes some, but the safety risks outweighed any worries I had in the result. I also used artificial vermillion instead of mercury containing true vermillion for the same safety concerns. As the amount of vermillion used was quite small, I have less concerns that this impacted the result. I used commercially obtained pigments for most of the pigments since I do not have a readily available source of green earth, hematite, sinopia, or indigo. The one pigment that I created myself was the black. Cennini only says to use black, so I used a charcoal black made from hardwood charcoal.
The reason I didn’t use lead white or true vermillion
Now on to the color recipes!
Colored grounds with a silverpoint line along the right side
Chapter 16: Green
Being the first recipe for a colored paper preparation, Cennini gives the most detail to this recipe. He details how to prepare the glue to add into the pigments. Cennini instructs the artist to apply the grounds with a soft brush in one direction and then the other. The grounds are to be applied in layers, allowing time to dry between each layer. This recipe calls for bone ash, although many don’t. Chapter 22 revises the recipes that don’t call for bone ash and instructs the reader to add at least a bean of bone ash to each recipe.
The pigments for green:
1/2 walnutshell of green earth
bit (half of green earth) ochre
1/2 amount of lead white as ochre
bean of bone ash
1/2 bean vermillion
The pigments for green: green earth, ochre, lead white, bone ash, and vermillion
This recipe resulted in a color more brown than green. The grounds have a slight green tint and the color was much more brown before drying on the paper. For the green I used Verona Green Earth and for ochre Italian Yellow Earth, both from Rublev. Titanium White from Rublev substituted for lead white. The vermillion is a safer artificial vermillion color from the Limner’s Guild.
Green?
Chapter 18: Murrey or Maroon
The pigments for murrey or maroon:
1/2 ounce of lead white
1 bean iron ore (hematite)
The color turned out to be a nice pink, slightly on the more purple side. I used Armenian Hematite and substituted Titanium White for lead white, both from Rublev. I made a half recipe of this one and added in half a bean of bone ash.
Murrey or maroon grounds
Chapter 19: Indigo
The pigments for indigo:
1/2 ounce lead white
2 beans Bagdad indigo
This resulted in a pretty, light denim color. I substituted Titanium White from Rublev for lead white and used ground indigo from Griffin Dyeworks. Bagdad indigo in medieval manuscripts refers to “true” indigo, Indigofera tinctoria, as opposed to woad which was also referred to as indigo. True indigo was labeled as Bagdad indigo because much of the indigo was traded through Bagdad. I halved this recipe and added half a bean of bone ash.
Indigo grounds
Chapter 20: Reddish or peach
The pigments for reddish or peach:
1/2 ounce green earth
2 beans of coarse white lead
1 bean of light sinopia
This recipe did not turn out at all how the chapter title would have you expect. With a large amount of green pigment, the color is expectedly greenish instead of reddish. I halved this recipe as well and added a half bean of bone ash.
The “reddish” color is decidedly green
Chapter 21: Flesh Color
The pigments for flesh color:
1/2 ounce of coarse white lead
less than 1 bean vermillion
Pigments used to make the flesh color
This turned into a light, slightly orange pink. I again halved the recipe to keep from making too much pigment and added half a bean of bone ash.
Chapter 22: Tawny or dun
The pigments for tawny or dun:
1/4 ounce coarse lead white
1 bean light ochre
less than 1/2 a bean black
This color turned out to be a very light slightly brownish color. It was hard to see that there was color unless against the background of the paper or in the correct light.
Tawny or dun color
In all, I think that I’ve worked out some kinks in making the grounds the right consistency and seem to have something I can draw on now. I would like to try the grounds on parchment and wood as well as paper. I may also try applying the grounds to different papers since I know that bristol board isn’t medieval.
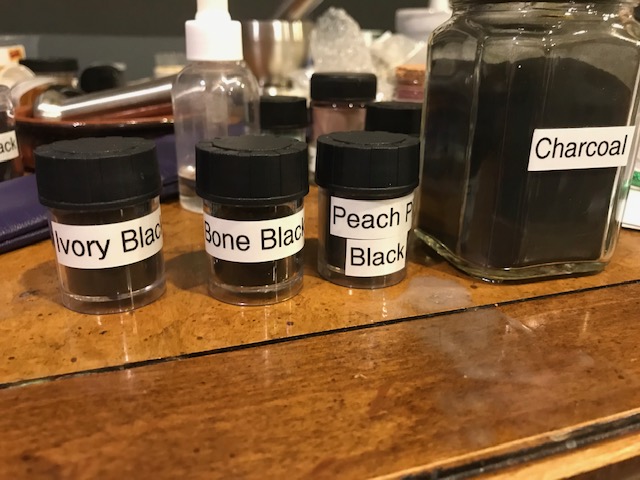
I have been waiting for a good conditions to try making a few new black pigments. I had received some mammoth ivory scraps from a friend and had been saving chicken bones to make ivory and bone black pigments. These pigments were used in prehistory into the medieval ages and much farther. Rembrandt often used bone black paint. Ivory black is mentioned in the Marciana Manuscript in Merrifield’s Medieval and Renaissance Treatises on the Art of Painting:
Black
Take peach stones and char them, or burn ivory, which will make perfect black, &c.
Mammoth ivory scraps
Chicken bones
To make my pigments, I purchased a piece of pipe (1 1/4 black pipe nipple) with two end caps. I put my material, first ivory and then chicken bones, into the pipe and screwed on the end caps so I had a type of “crucible.” I then placed this crucible into a very hot fire with some nice coals. I allowed the crucible to sit in the fire for approximately an hour. After this time, I used tongs to remove the crucible from the fire and allowed it to cool a bit before opening it and emptying the contents into a dish. I could then refill the crucible and put it back into the fire.
Pipe with end caps
Ivory scraps in the pipe
The pipe in the fire
Charred ivory
The charred material was black all the way through and much more brittle than the uncharred material. I was impressed with how much pigment came from the small amount of charred material I had made.
I have since ground both pigments, but have yet to make paint with the bone black. The ivory black has brown tones.
Next up, and probably last of the black pigments, will be almond shells made in a similar way.
*A note on mammoth ivory: I used mammoth ivory due to many other ivories rightly protected by CITES (Convention on International Trade in Endangered Species). Mammoth ivory is legal since the trade does not decrease the population of an extinct species. Some estimate that more than 10 million mammoths lie frozen in Siberia. These ivory tusks have begun to mineralize but are not fully fossilized.
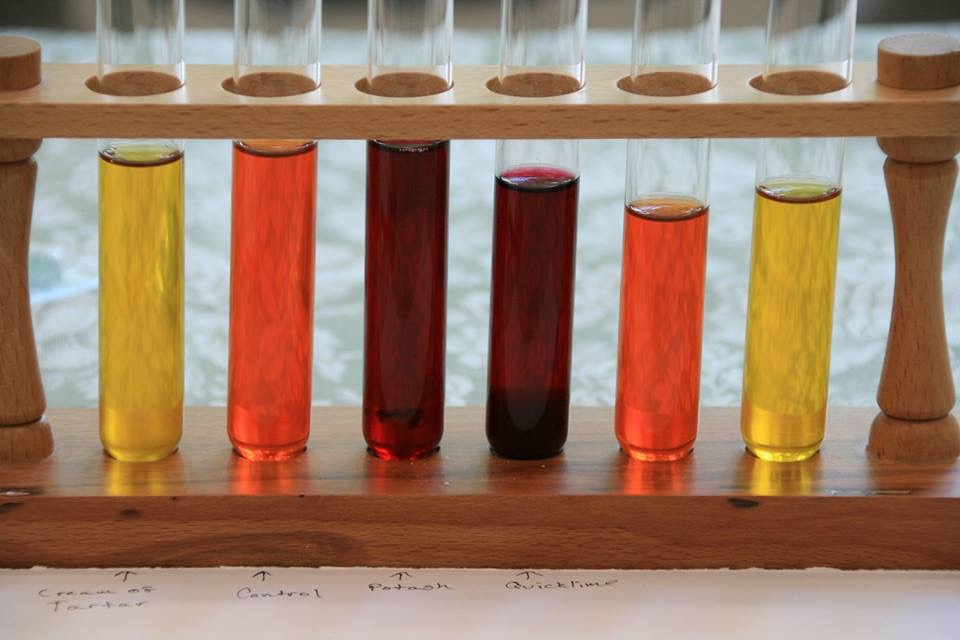
I’ve taken some time off of studying and making pigments to do some painting and some organizing. I made my first gesso and it seems to be working well. I’m also doing an online Book of Kells class that has challenged me to try Celtic illumination for the first time. Finally I entered a science competition with a medieval pigment recipe for 4 colors from brazilwood and won, although I was the only entrant. I guess sometimes just putting in the effort makes you a winner.
A diversion into painting doesn’t mean that I haven’t been gathering things and making plans for new pigments. I really have to praise my husband for not complaining too much about the weird things that show up in our house. I went to an SCA event the other day and came home with saffron that a friend grew (it smells so good!), a bag of rabbit fur, and a container of beetle legs and heads. The saffron was given with the expectation that I will make pigment and pass some on to my friend. The rabbit fur is to try to make paintbrushes from. The beetle parts are an experiment to see if I can make a glittery paint with them. Preliminary results are not looking good. The beetle legs and heads are nice and shiny, but there are enough icky bug parts inside that when crushed the pretty shiny bits are outnumbered by a grey green bug ick. I may try washing the crushed beetle parts to see if I can separate the pretty shell from the icky bits.
I have a cup of peach pits and a cup of chicken bones in the kitchen. I received a bag of mammoth ivory scraps in the mail one day. Today I bought a bag of almonds in the shell today. Although I enjoy eating almonds and they will most certainly be eaten, I’ll use the shells to make pigment as well.
Even when we travel I am always thinking about what I can use to make pigments. We’ll be going to Oklahoma soon and I would really love to grab a bag or two of good red or yellow clay and make some ochre pigments. While we were in Wisconsin over the summer I was able to grab a few buckthorn berries and tried a new pigment recipe. I was not overly impressed with the results of the buckthorn pigment. I found unripe buckthorn berries and tried the only medieval recipe I had found for unripe berries. The recipe involved pouring the pigment into seashells. I was hoping that I would get something like the iris green recipes that also involve sitting in a seashell and stick to the shell well. This recipe, however, created a flaky pigment that does not stick in the shells. I tried adding some gum arabic and water into the shell and see if I could use the pigment that way. It was pretty grainy and didn’t work very well. The best use of the pigment seems to be scraping the pigment out of the shells, grinding it into a finer, more homogenous powder and then making paint. I had kept a bit of the pigment in a little jar and hadn’t allowed it to dry. I will see how the liquid pigment works as a paint.